
Installation of helixee Smart Disk
1. To be read before starting helixee install process
IMPORTANT !
To install your helixee you must follow the installation process described here: Install helixee .
If you have a helixee already equipped with a built-in 1 or 2 TB hard disk, you can go directly at point number 3. If you have a ‘no drive’ helixee, go to step 2.
TIP
We strongly recommend using the Google Chrome browser to install your helixee.

2. helixee ‘no drive’: hard drive installation
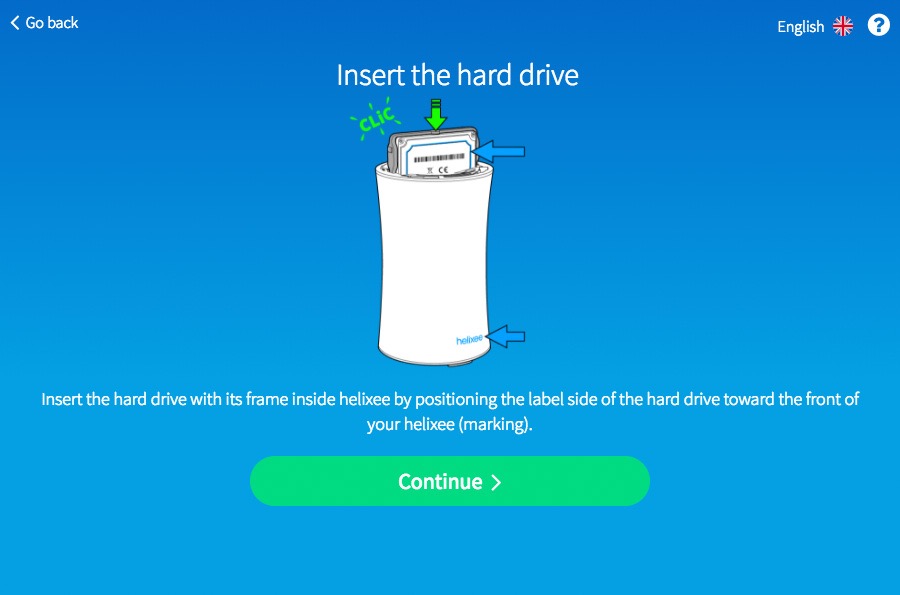
Start by inserting your hard drive in helixee:
- Ensure you have a 2.5 SATA2 internal hard disk drive as well as the protective frame provided in helixee’s box.
- Position the protective frame around your hard drive, making sure that the circle on the top of the frame protrudes on the side of the hard disk’s label. Insert the four pins of the frame into the screw holes of the drive properly. hard.
- Remove the cover of your helixee by turning it counterclockwise.
- Insert the hard drive with its frame inside helixee by positioning the label side of the hard drive towards the front of your helixee (marking).
- Put the cover back on your helixee by exerting a slight pressure and turning it clockwise until it is properly clipped.
The installation of the hard drive is complete, go to the next step.
WARNING !
If data is present on the hard disk, it will be lost during the installation process.


3. Connections
To properly connect your helixee, follow the steps below:
- First, connect the network cable to your Internet box, then click Continue .
- Then connect the power cable. After a few seconds, the indicator light will come on. When on, you can click Continue .
When all connections have been made, click Continue and go to the next step.


4. Creating your user account
If you already have a Novathings account, click the Sign In button in the left frame.
If you do not have one yet, create your account in the right frame:
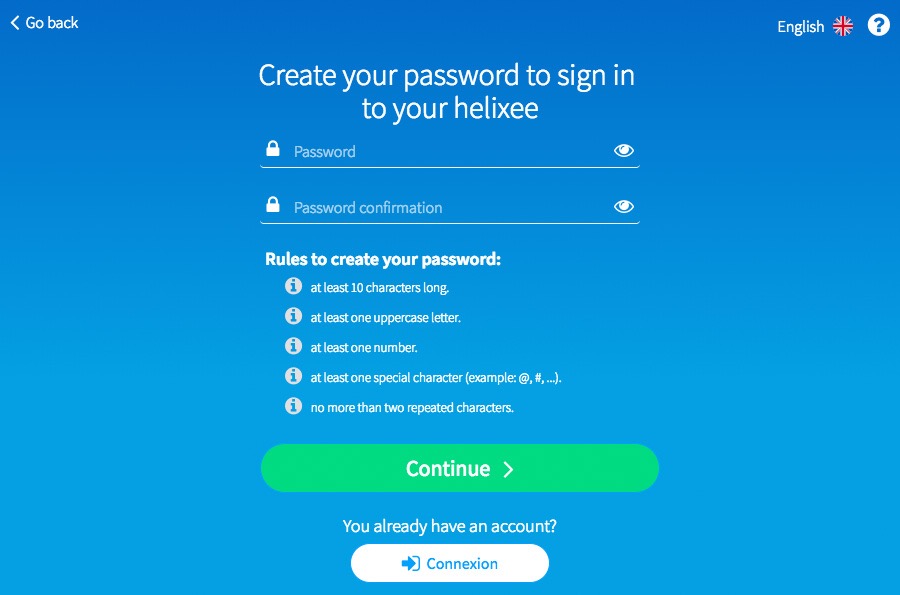
When you have filled in the fields correctly, click the Continue button and create your password.
IMPORTANT!
To increase the security of your account, your password must contain at least 10 characters, at least one capital letter, at least one digit, at least one special character and no more than two consecutive identical characters.
This follows the CNIL recommendations.
When your password meets all the requirements (a green check mark appears in front of each condition), click the Continue button, then go to the next step.

5. Updating your helixee
To continue the installation, you must enter the serial number of your helixee.
You will find this number:
- On the helixee box, after S/N.
- On the label under your helixee: the first 7 digits under Serial Number.
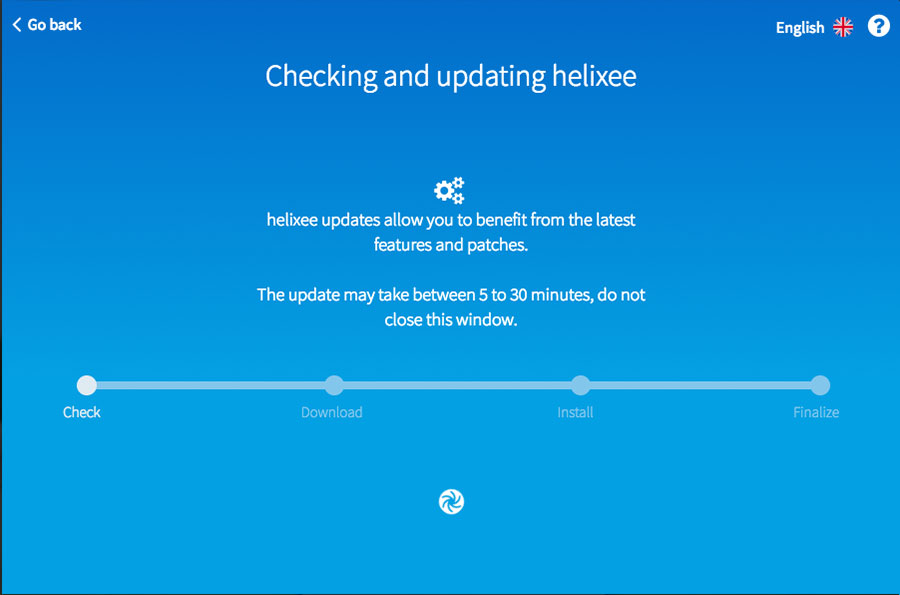
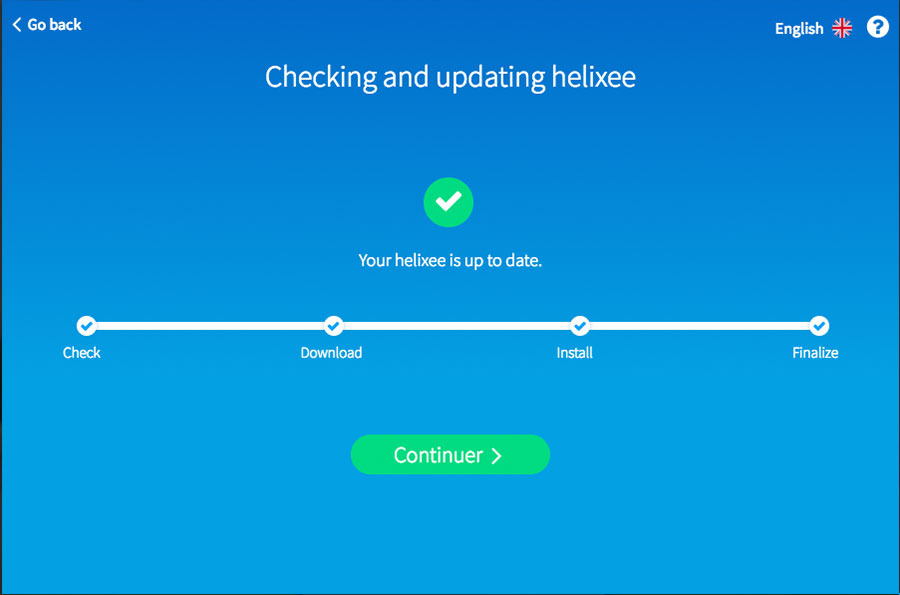
The next step checks the version of your helixee and updates your device if necessary. Updating your helixee can take up to 30 minutes.
Do not disconnect your helixee during this step!
Wait until the helixee is up to date and then continue to the next step.

6. Naming your helixee
1. Give your helixee a name, which will allow you to:
- access your data remotely
- to send data by email to your helixee.
2. When you are satisfied with the name you set for your helixee, click the Continuebutton.
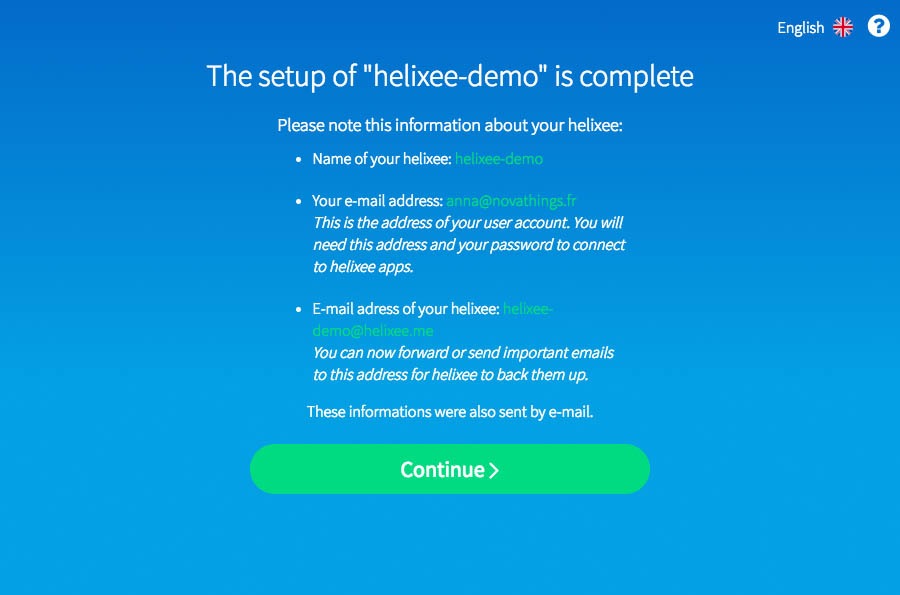
3. Once you have successfully registered your helixee, keep in mind the information below it shall be important to have access to all the features of your helixee:
- The name of your helixee : You will be asked to connect to your helixee.
- Your email address : It will be used to connect to your helixee using your previously created password.
- The email address of your helixee : You can save your important emails and attachments directly by transferring them to the email address of your helixee.
4. Click the Continue button to complete the installation of your helixee.
TIP
Information about your account and your helixee will also be sent to you by email!

7. Finalizing the installation
- To get to know you better, kindly answer a few questions and click on theContinue button.
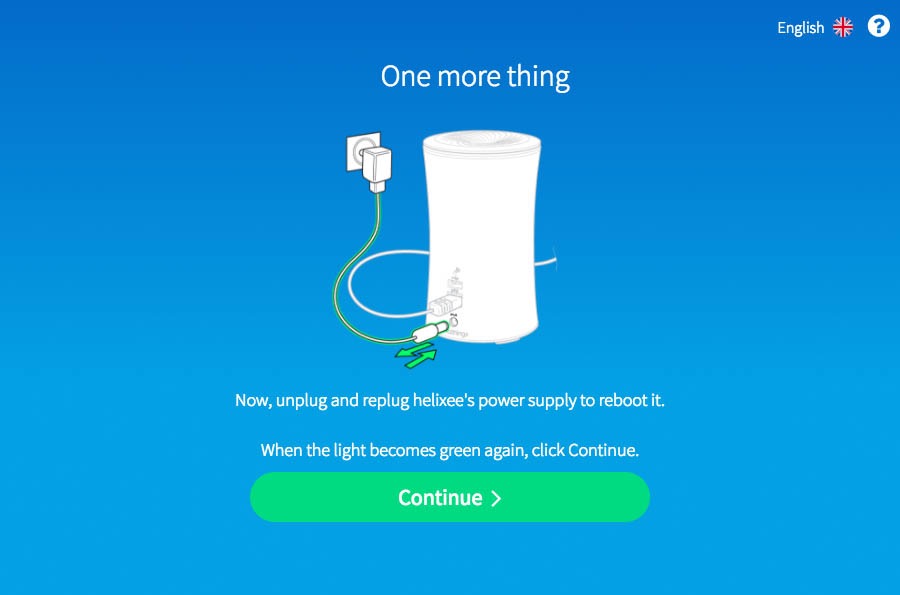
- In order to complete the installation of your helixee, unplug and reconnect its power cable in order to restart it . When the indicator light turns green, click theContinue button.
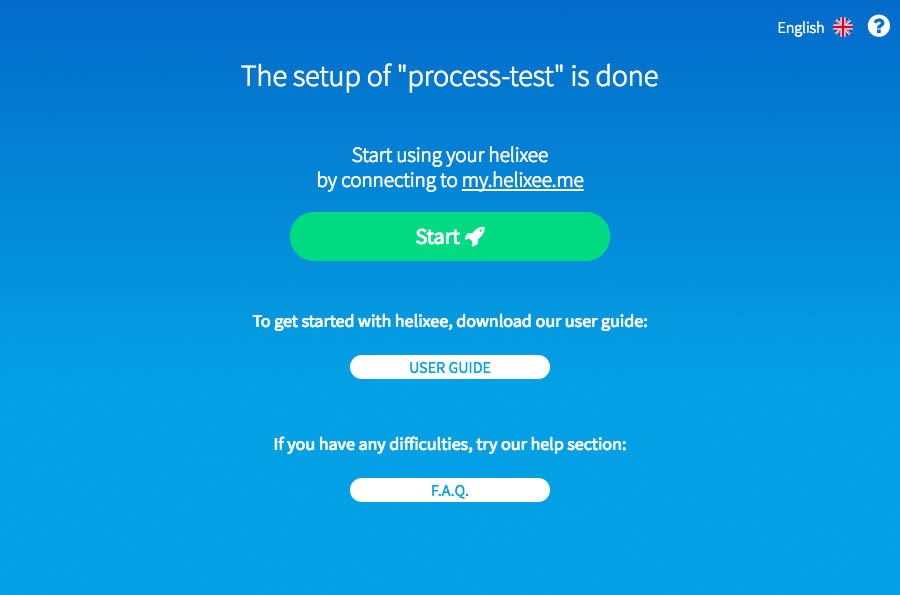
- The installation of your helixee is now complete. You can already connect to your helixee from the online helixee app my.helixee.me or go to the next step on how to download and install the helixee application on your computer or smartphone.

8. Downloading and installing the application
ON YOUR COMPUTER PC / MAC :
Go to the application download page: Applications page
To download the helixee application on your PC :
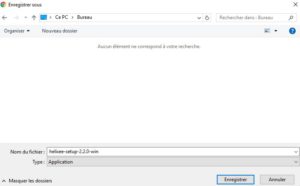
- Click the Download button under the Windows icon.
- Once the download is complete, locate the helixee.exe file and double-click it to start the installation.
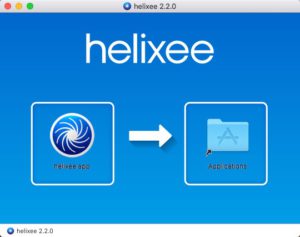
To download the helixee application on your Mac :
- Click the Download button below the Mac icon .
- Once the download is complete, locate the helixee.dmg file and double-click it to open the installation window.
- Drag and drop the helixee application icon into the Applications folder of your Mac.
The installation is complete, you can move on to the next chapter: Your helixee settings


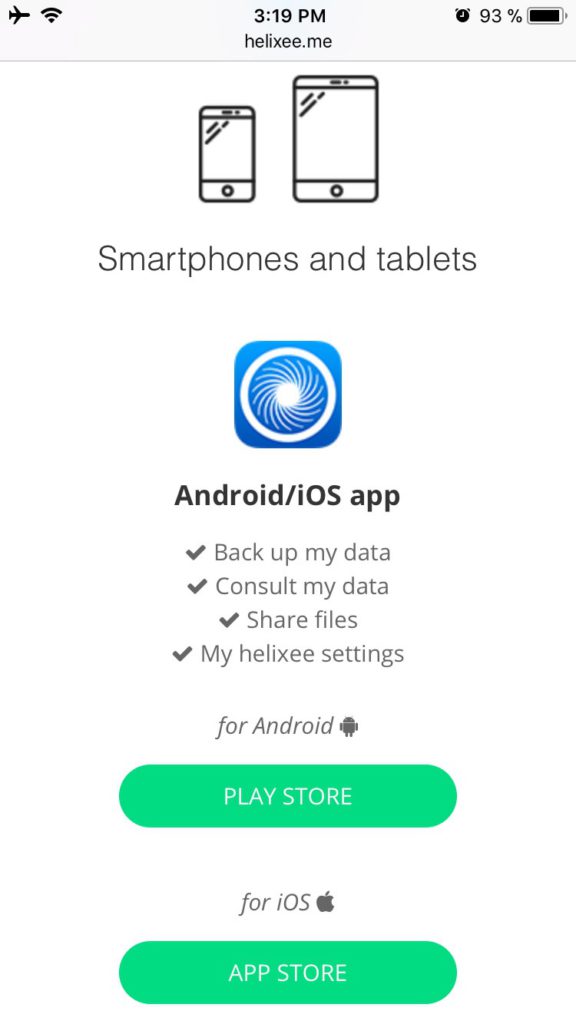
IN THE MOBILE APPLICATION:
Go to the application download page: Applications page
To download the helixee app on your Android device :
- Open Google Play on your Android device and search for « helixee »
- Once on the helixee app page on Google Play, tap the Install button. The helixee application will, then, download and install automatically on your Android device. Once the installation is complete, the helixee application icon will appear with your other applications.
To download the helixee app to your iOS device :
- Open App Store on your iOS device and search for « helixee »
- Once on the helixee app page, tap the Get button. The helixee application will, then, download and install automatically on your iOS device. Once the installation is complete, the helixee application icon will appear with your other applications.
The installation is complete, you can move on to the next chapter: Your helixee settings

9. What to do in case of a connection problem?
If you have just installed your helixee and can’t connect with the mobile application, the PC / Mac application or the site my.helixee.me, and more generally, if you get the error messages:
- All fields are mandatory
- Incorrect password
- Connection to helixee has been successful but your login or password is incorrect
Here’s what to do in 4 steps:
Step 1 – Verify that helixee is turned on and connected to your home network
- Verify that the network cable supplied with helixee is connected on one side to helixee and the other to your internet box.
- Check that the helixee’s indicator light is on and green.
- If the indicator light is off, this is a power supply problem. Check that the power cable is connected correctly.
- If the indicator light is blue, helixee is in access point mode and is not connected to your internet box’s network.
Check that the network cable is correctly connected on one side to your helixee and on the other side to your internet box then restart helixee by unplugging and reconnecting its power cable.
If the problem persists, try to change the network socket on your internet box and then restart helixee again.
Step 2 – Check that helixee is up to date with the latest version of its software
If left powered on, helixee automatically updates itself at startup and overnight.
Enter the serial number of your helixee in the text field below
and click on the validate button to know the version of your helixee:
It is located on the packaging , next to the word « S/N » and on the label located under helixee below « Serial Number ».
Step 3 – Download the latest version of the helixee application
To make sure you have the latest version of the helixee application, follow these steps:
- On iPhone and iPad, remove the helixee app from your device, then download the app helixee on the App Store.
- On Android, remove the helixee app from your device, then download the app helixee on Google Play.
- On PC / Mac, remove the helixee application from your device, then download the application on our Applications page.
- When using web application (the website my.helixee.me), purge your browser’s cache then reload the page.
Step 4 – Check your password
- Use the eye icon on the password field to verify that the password entered is your user account password.
- Use the link I forgot my password accessible at the bottom of the login form and follow the procedure.
If you have validated all the above steps and the connection is still not possible, please contact our customer support, we will be happy to help you solve your problem.